¶ General
This tutorial will show you the steps required to join IVAO as a virtual Air Traffic Controller (ATC) using AURORA Software. It is meant to give you a short overview about the tools used, and some very basic instructions how to “behave” in this new environment.
If you have not yet done so, you will need to join IVAO to create your personal user account.
Note that this is required only once, and valid for both a controller and pilot career!
More specifically, we will show you how to…
- Download, install and set up the required software
- Add and load a sector file for your favourite airport
- Connect to the IVAO Network (“IVAN”)
- Set up an ATIS
- Obtain further information and training
¶ Download
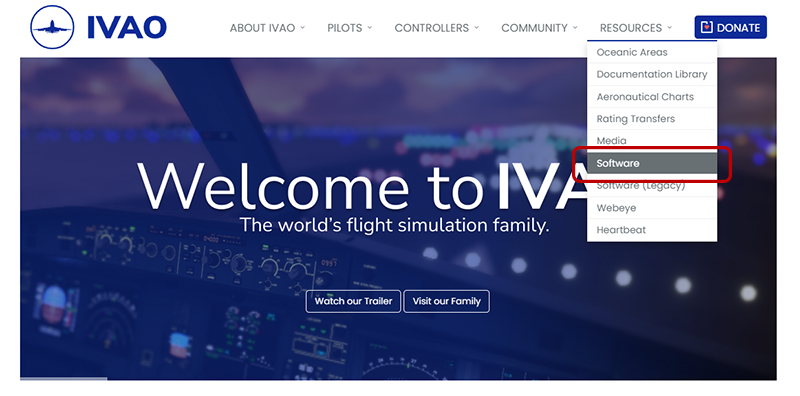
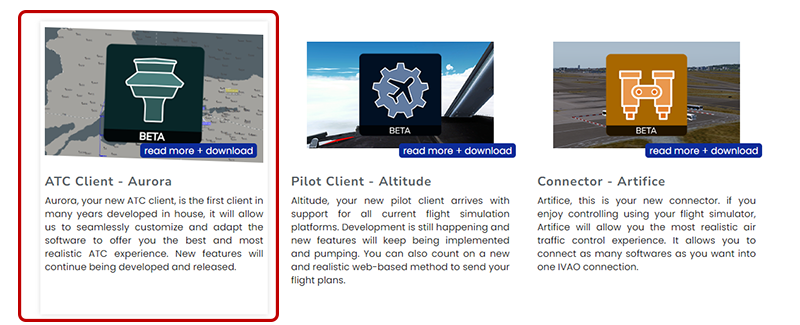
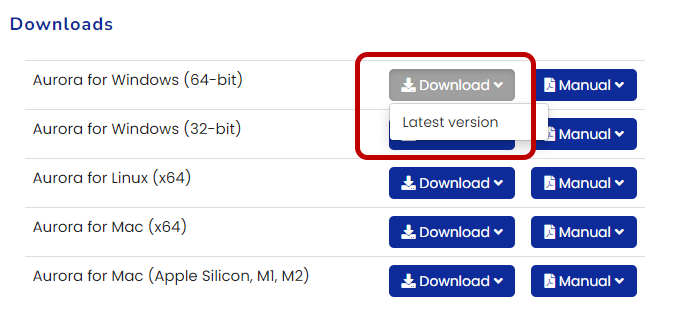
The first thing you need to do is download our ATC client, AURORA, which will allow you to connect to the network. This can be downloaded from the Software Development Pages.
¶ Quick Setup
- Right click anywhere on the screen and select PREF BAR.
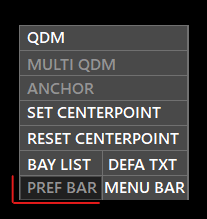
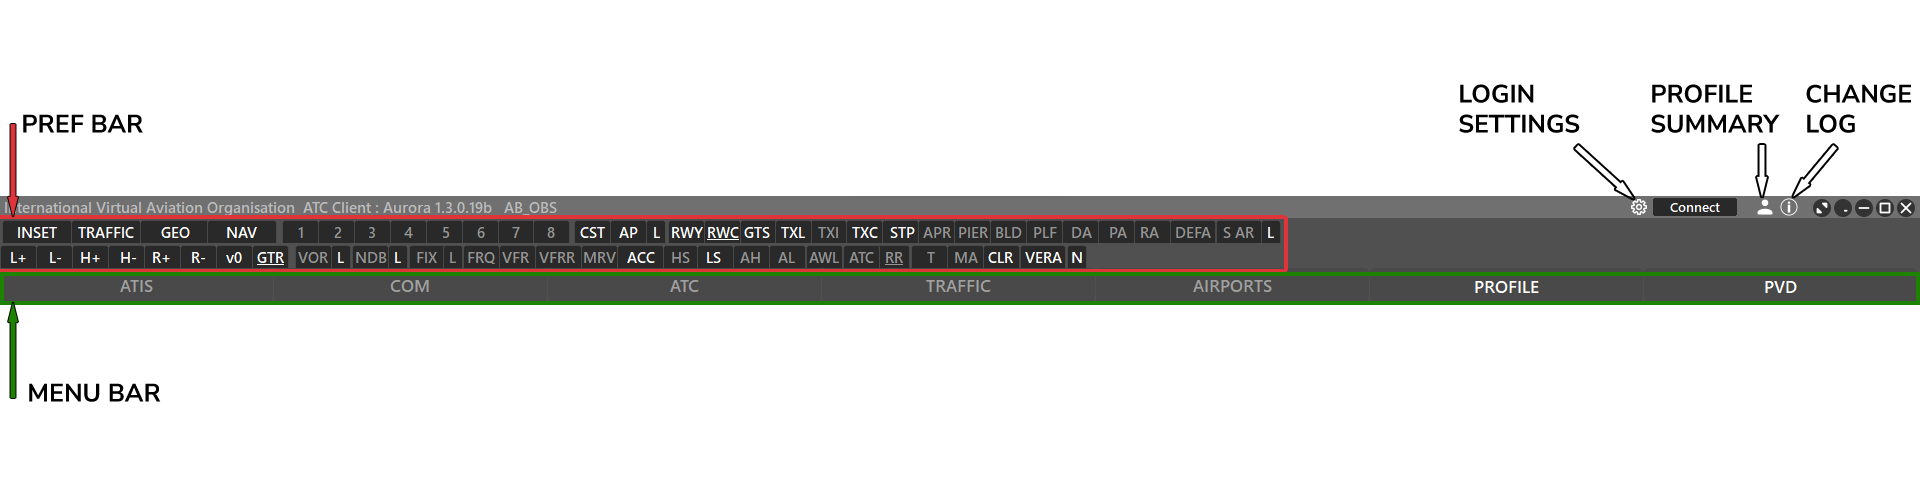
- Recommended: Configure your PREF BAR as shown in the image above. White font indicates the type of nav data that is turned on.
- These settings may vary depending on your division sectorfiles presets.
- Each button's function is explained here.
¶ Sectorfiles
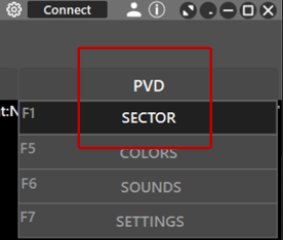
- Select PVD > SECTOR in the MENU BAR
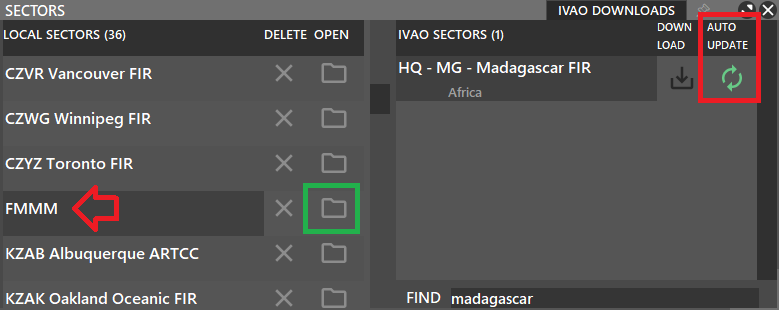
- Select IVAO DOWNLOADS

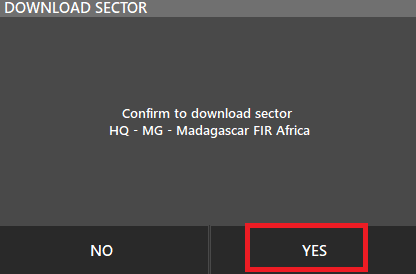
- In the bottom right find field, enter the FIR or country name of the sectorfile.

- Click yes in the confirmation dialog.
- Verify that the auto-update is enabled (green). When an update is available aurora will automatically download it for you.
- The new sectorfile will now appear on the left side
- Click the folder icon to load it.
¶ Connect
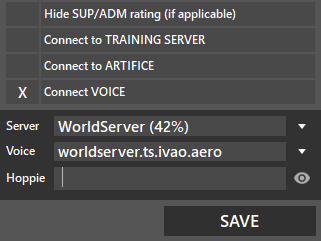
⚙️ The cog-wheel button will allow you to set your login settings.
If you are new you can login as observer using your initials + OBS. SImply type into the tedxt field. For example: AB_OBS
🔽The dropdown icon opens a list of all possible ATC station that can be used.
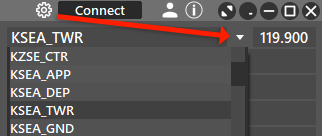
Once you have a login selected you can click Save, then click Connect to go online.
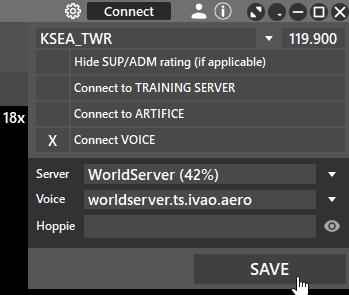
Advanced login settings:
- Connect to Training Server: Currently not in use.
- Connect to Artifice. Read more here in the artifice manual.
- Hoppie: If you wish to use the Datalink System, make sure you have filled the Hoppie box. For more information on the Datalink, check here.
¶ ATIS
The most important information about an aerodrome is included in the ATIS (AutomaticTerminal Information Service). The weather data (METAR) is fetched and included automatically. You should add runway information and transition altitude/transition level.
Relevant articles:
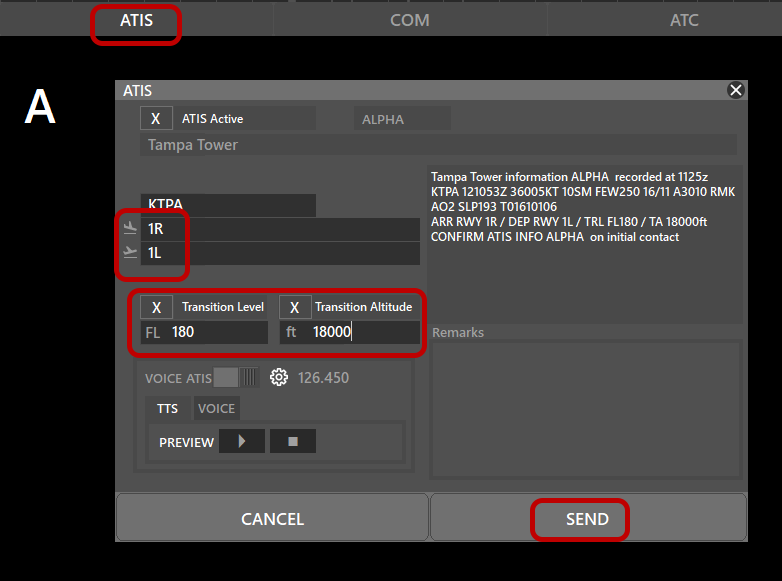
Even though runways are mainly assigned by wind direction, and the transition values can be obtained from charts, actual procedures might differ. You should therefore seek information from your local division about standard procedures beforehand!
¶ Whats Next
- We strongly recommend you ask for ATC training here from your local division.
- You can find more information on Aurora in the Aurora User Manual.